GameObjects
Every object in your
game is a game object. It can be accessed from the tool bar by clicking game
object, click on others and select your desire game object. A default game
object include
1.
Particle System
2.
Camera
3.
GUI Text
4.
GUI Texture
5.
3D Text
6.
Directional
Light
7.
Point Light
8.
Spot Light
9.
Area Light
10. Cube
11. Sphere
12. Capsule
13. Cylinder
14. Plane
15. Quad
16. Sprite
17. Cloth
18. Audio Reverb Zone
19. Terrain
20. Ragdoll
21. Tree
22. Wind Zone

Game objects come to
play when components are added to it. You can add components to the selected
game objects through the components menu located at the tool bar. An
alternatively approach in adding a components is from the inspector view.
1.
Click on the
game object in the hierarchy view
2.
Click on add
component in the inspector view
3.
Navigate to the
component or simply using the search box to find your component
4.
Select your
component
Note: The behavior of
game objects is controlled by the components that are attached to them.
When you create a
script and attach it to a game object, the script appears in the game objects
inspector just like a component. This is because script becomes components when
they are saved. A script compiles as a type of component and is treated like any
other component by the unity engine. Therefore, a script is a component that
you are creating yourself. A game object can only have one tag assigned to it.
A tag is a word which you link to one or more game objects. More about tag will
be discuss in another lesson.
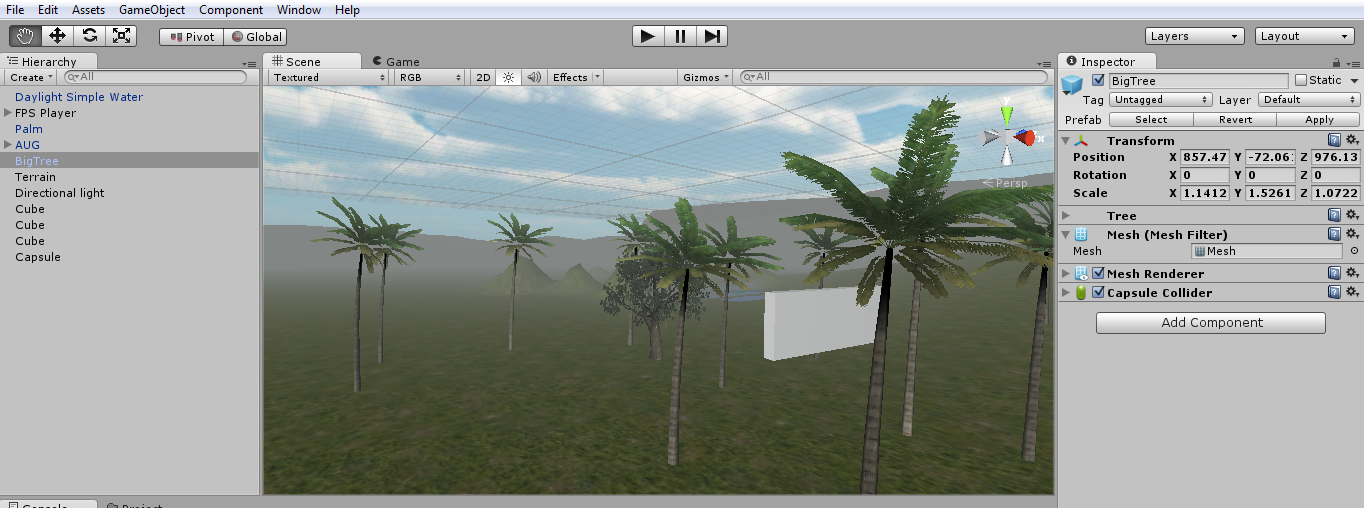
When you select a game
object in the hierarchy or scene view, the inspector will show the properties
of all components and materials on that object and allow you to edit them.
To create an empty game
object, click on game object, click on create empty.
Here is an example of
using C# script
void Start () {
for(int y = 0; y<5;
y++){
for(int x = 0; x<5;
x++){
GameObject cube =
GameObject.createPrimitive(PrimitiveType.cube);
cube.AddComponent<Rigidbody>();
cube.transform.position
= new Vector3(x, y, 0);
}
}
}
Click and drag it to
the empty game object. You have successfully created a cube using script
Controls
The tool bar contains
the transform tools which include your mouse to scroll to the hand tool and
click on it or you simply press Q on your Keyboard. You can easily click on the
scene and you will be able to drag the camera.
Experiment 1:
1. Click on the hand tool or alternatively press Q
2. Double click on the
scene to drag the camera
Experiment2:
1.
Click on the
hand tool or press Q on the keyboard
2.
Click alt +
double click on the scene to orbit around the camera

Experiment3:
1.
Press Q on the
keyboard
2.
Click alt +
right click + scroll down to zoom in with your mouse and scroll up to zoom out
using your mouse.
Zooming in, out, left and right using your Keyboard
Click and hold
the right mouse button
1.
Click W to zoom in
2.
Click S to zoom out
3.
Click E to zoom up
4.
Click Q to zoom down
5.
Click D to move right
6.
Click A to move left
To move faster hold
down shift. See you in the next tutorial
No comments:
Post a Comment